How to Use Tire Sealant for Car Tires: Does It Work?
You can temporarily fix most tread punctures up to about 6 mm by using the right sealant and following safe steps. Confirm TPMS compatibility, work off traffic, deflate, inject the recommended amount, reinstall the valve core, then inflate and drive ~0.2 miles to distribute the sealant. Use pressurized cans for small holes and compressor kits for larger punctures; sidewall damage needs replacement. Monitor pressure, keep speeds ≤50 mph, and get a professional repair within 100 miles to secure the fix.
Quick Emergency Checklist: Should You Use Tire Sealant Now?

Wondering whether to pull out the sealant now? You’ll first assess puncture size: sealants work for holes up to 6 mm; larger holes or sidewall damage need professional repair. Check tire pressure before and after; inflate to the manufacturer’s recommended PSI (door-jamb label) after application. Confirm you’ve got the right product—pressurized cans suit small emergencies, while tire-sealant kits handle larger punctures. Drive about 0.2 miles immediately after applying to distribute the compound evenly. Keep sealant accessible in the vehicle so you can act quickly when you don’t have a spare. These tire sealant benefits and sealant application tips help you decide fast and execute safely without unnecessary delay.
What Tire Sealant Does : And When It Works
Tire sealant works by flowing into the tread puncture and hardening to plug holes—typically effective for bites up to about 6 mm. Different products have limits: pressurized cans are one-time, small-puncture fixes, while kit-based or valve-injected liquids plus a compressor can handle larger damage and inflate the tire. Treat all sealant repairs as temporary: monitor pressure, don’t expect a permanent fix, and get a professional repair within about 100 miles.
How Sealant Plugs Holes
One straightforward way sealant stops leaks is by spraying a liquid barrier inside the tire that flows to the puncture, coats the edges, and solidifies into a plug as the tire spins. You inject a liquid solution that remains mobile, so when a nail or screw creates a breach the centrifugal force and airflow push the material into the hole. The sealing mechanics rely on adhesion to rubber and rapid coagulation or vulcanization that locks fibers and rubber fragments together. This delivers immediate sealant effectiveness for small punctures, creating a temporary pressure-retainingplug. Because the material stays inside the tire, it can reseal new punctures until it’s used up or diluted. Treat this as an emergency fix and get professional repair promptly.
Limits And Puncture Size
Although sealants can handle many common punctures, they work reliably only up to about 6 mm in diameter and won’t fix larger holes or sidewall damage. You should perform a puncture assessment before any sealant application: locate the leak, measure hole size, and inspect the sidewall. Choose product and method based on that assessment.
- For ≤6 mm: standard sealant or pressurized-can often suffices; monitor pressure and drive cautiously.
- For >6 mm but not in sidewall: tire sealant kits with compressors can seal and re-inflate more effectively than cans.
- Sidewall damage: sealants won’t restore structural integrity; replace or get professional service.
- After application: check pressure frequently and arrange professional repair within 100 miles.
Temporary Versus Permanent
Because sealant only stops small tread punctures and doesn’t restore structure, treat it as a temporary fix that gets you to a shop, not a permanent repair. You’ll use sealant for temporary fixes: it seals holes up to ~6 mm, works best in tread, and lets you drive short distances (recommendation: ≤100 miles) to a pro. Don’t use it for sidewall damage. Liquid sealants and dedicated kits outperform pressurized cans on larger punctures, but any sealant can complicate later repairs, so monitor the tire and inform your technician.
| Feature | Implication |
|---|---|
| Puncture size limit | Up to 6 mm — temporary fixes only |
| Area effective | Tread only |
| Recommended distance | ≤100 miles |
| Repair impact | May complicate shop repair |
| Best option | Liquid sealant or kit over cans |
Which Punctures and Tire Damage Tire Sealant Can (And Can’t) Fix
You can rely on sealant for small tread punctures—most products seal holes up to about 6 mm and are applied through the valve stem or with a pressurized can. Don’t expect sealant to fix sidewall damage or larger holes; those need professional repair or tire replacement. After applying, remove the object, drive ~0.2 miles to distribute the sealant, and monitor pressure closely, arranging a proper repair within 100 miles.
Small Tread Punctures
Tire sealant works well for small tread punctures—generally up to about 6 mm in diameter—by plugging the hole and stopping slow leaks, but it’s not a long-term fix for larger holes or any sidewall damage. You’ll treat minor nail or screw punctures as a temporary small hole solution and get to a repair shop quickly. After application, drive no more than 100 miles and monitor pressure frequently; sealants don’t restore structural integrity or guarantee long-term inflation.
- Use sealant only for non-structural tread punctures ≤6 mm.
- Check tire pressure daily until professionally inspected.
- Limit driving to ~100 miles to avoid hidden failure.
- Consider sealant a stopgap; arrange a proper repair for puncture prevention.
Sidewall And Large Holes
Although sealants can stop small tread leaks, they won’t reliably fix larger punctures or any sidewall damage, so don’t attempt to use them as a permanent solution for such problems. You should know sealants generally seal holes up to about 6 mm; beyond that their sealing matrix and pressure-holding capability degrade. For large punctures, relying on sealant risks sudden failure and loss of control. Sidewall damage is structurally critical—sealants can’t restore the carcass or belt integrity, so replacement is required. If you use sealant as a temporary measure, drive cautiously and get a professional inspection within 100 miles. Technicians will assess whether a proper plug/patch is possible or whether tire replacement is the only safe option.
Which Type to Choose: Pressurized Cans, Liquid Bottles, or Kits With Compressors
Which option fits your needs depends on the size of the puncture and whether you need full inflation on the spot. You’ll choose between pressurized cans, liquid tire sealant bottles, or full kits with compressors based on repair scope and speed. Pressurized cans are cheap and fast for small punctures but won’t fully inflate larger-deflated tires. Liquid bottles inject through the valve, sealing holes up to about 6 mm. Kits combine sealant and a compressor, sealing larger punctures and restoring pressure immediately.
- Pressurized cans: low cost, quick temporary seal for small holes.
- Liquid bottles: valve-injection, effective to ~6 mm, requires follow-up.
- Compressor kits: best for larger punctures, full inflation on scene.
- Choose kits for reliability in emergencies.
Check First: TPMS, Spare Status, Tire Type, and Safety Steps
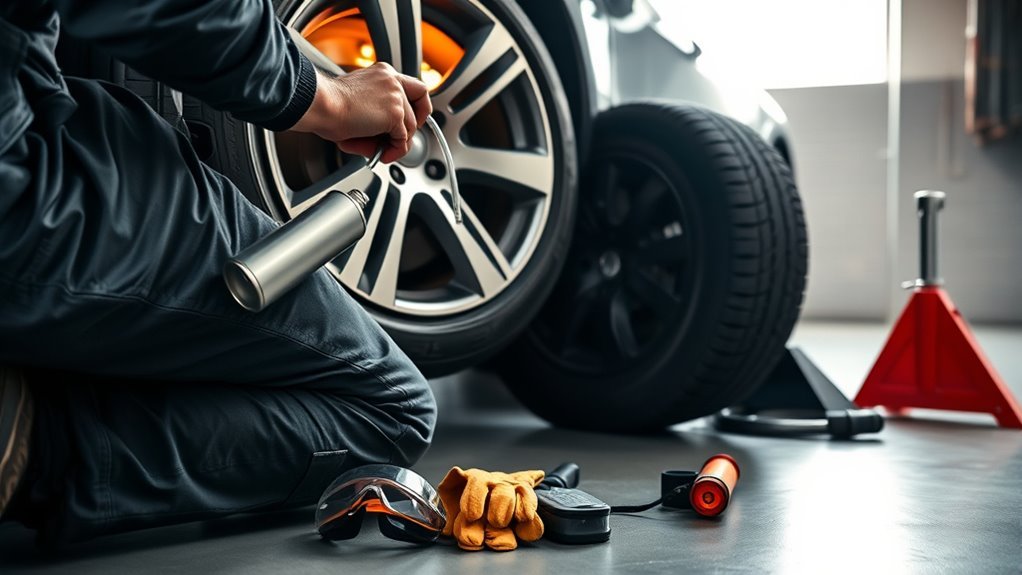
Before you reach for the sealant, confirm a few essential things so you don’t make the situation worse: check whether your vehicle has TPMS (so you can monitor pressure after application), verify if you have a usable spare tire, and confirm the sealant is compatible with your tire type and any run-flat or TPMS-sensitive systems. Check TPMS importance: if your car has it, you’ll get immediate alerts to pressure loss or sensor issues after sealing. Verify spare tire status so you know whether sealant is a temporary fix or you can swap wheels. Confirm sealant compatibility with tire construction and any TPMS sensors to avoid damage. Choose a safe, level safety location away from traffic for application, then monitor pressure and plan professional repair.
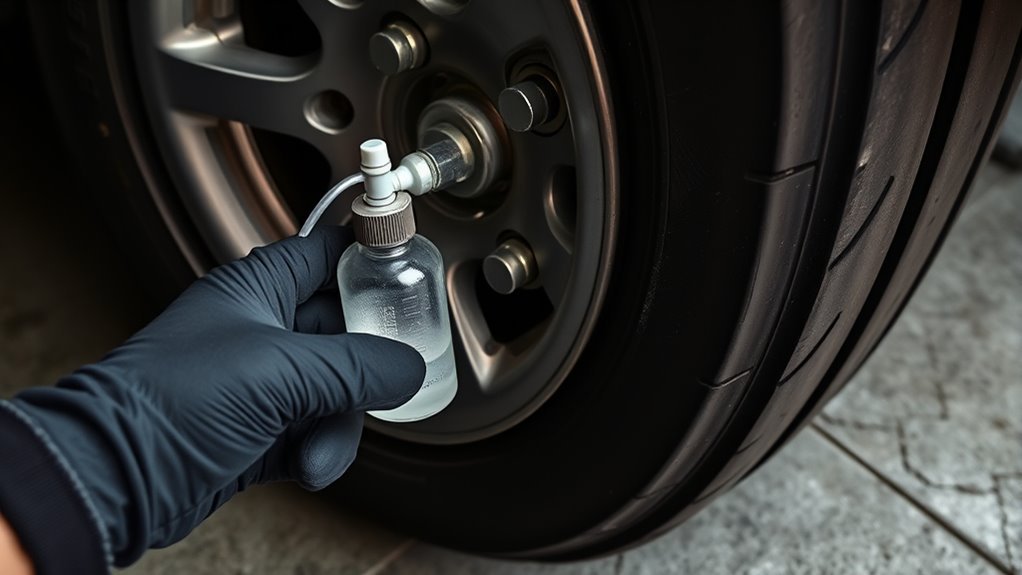
How to Use a Pressurized Can Safely (Step-by-Step)
Now that you’ve confirmed TPMS status, spare availability, and sealant compatibility, you can move on to using a pressurized can. Work in a safe location away from traffic; this is basic tire maintenance and a safety prerequisite. Remove the valve cap and use the valve core removal tool to let the tire deflate, following the can manufacturer’s directions for sealant effectiveness.
Confirm TPMS and sealant compatibility, work safely away from traffic, deflate the tire, and follow can instructions precisely.
- Attach the can nozzle securely to the valve stem; guarantee a tight fit to prevent leakage.
- Spray the prescribed amount of sealant into the tire, keeping the can upright and steady.
- Reinstall the valve core firmly, replace the cap, and check pressure with a gauge.
- Drive about 0.2 miles to distribute sealant evenly and allow it to seal the puncture.
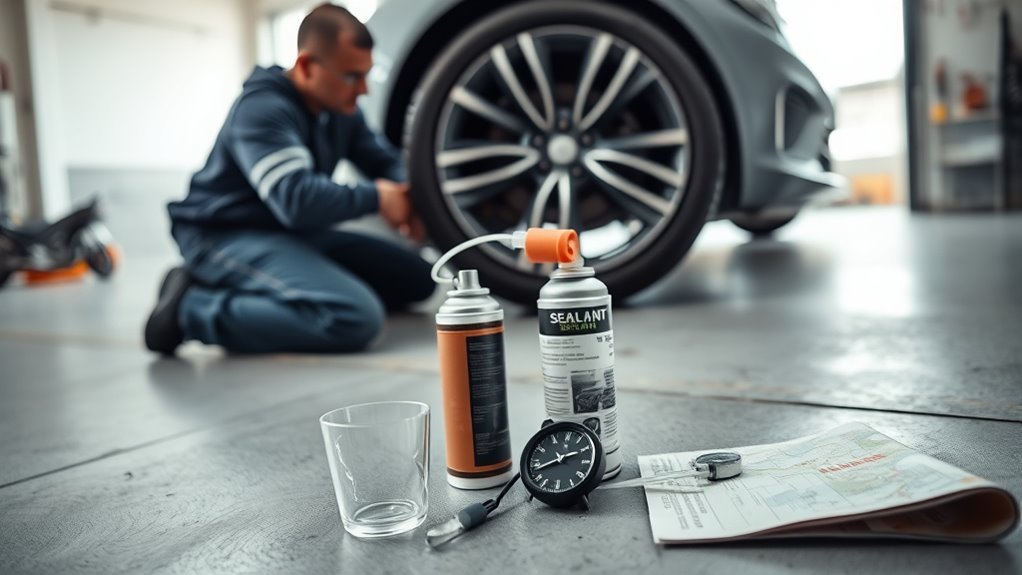
How to Use a Tire-Sealant Kit With Compressor (Step-by-Step)
Select a sealant kit that contains a compressor and matches your tire type, then park safely off the road with the vehicle on level ground and the parking brake set. Remove the valve cap and use the kit’s valve core removal tool to extract the core; let the tire deflate fully. Attach the sealant injector to the valve stem and deliver the specified volume per the kit’s chart—follow instructions precisely to avoid under- or overfilling. Reinstall the valve core with the tool and torque it snugly to prevent leaks. Connect the compressor, set it to the manufacturer’s recommended pressure, and inflate the tire. Check for leaks, then drive a short distance to disperse the sealant evenly. Include this step in routine tire maintenance and consider sealant alternatives for permanent repairs.
How Much to Use, How Far to Drive, and Recommended Speed Limits
With the sealant injected and the compressor used to restore pressure, you’ll need to follow specific dosage and driving limits to guarantee a proper temporary repair. Use the product chart for sealant application—about 8 ounces for most passenger tires—so the puncture seals reliably. After application, drive roughly 0.2 miles immediately to spread the sealant evenly. Observe driving precautions: keep speed ≤50 mph and avoid hard cornering or heavy loads. Don’t treat sealant as a permanent fix; professional inspection is needed before 100 miles.
- Measure sealant per chart (≈8 oz typical).
- Drive ~0.2 miles to distribute sealant.
- Maintain ≤50 mph; avoid stress on tire.
- Monitor pressure; repair professionally within 100 miles.
Aftercare and Buying Guide: Best Situations, Top Kits, and Next Steps
After you’ve sealed a puncture, treat the repair as temporary and follow a clear aftercare and buying plan: drive about 0.2 miles immediately to spread the sealant, monitor tire pressure frequently, and schedule a professional inspection within 100 miles. Aftercare: check pressure multiple times over the next days, look for sidewall damage, and don’t exceed recommended speeds—sealant effectiveness drops with large cuts or running with low pressure. Buying guide: prefer kits that include sealant plus an air compressor for reliable inflation and resealing; they handle larger punctures better than pressurized cans. Application tips: confirm compatibility with your tire and vehicle, read instructions, and choose reputable brands like airMan or Slime for best results.
Frequently Asked Questions
Do Tire Sealants Really Work?
Yes — they work temporarily for puncture repair up to about 6 mm. You’ll use them for immediate tire maintenance, but you should monitor pressure, avoid sidewall damage, and get professional repair for larger or lasting fixes.
What Are the Disadvantages of Tire Sealant?
You’ll face reduced tire sealant effectiveness, increased repair difficulty, and compatibility issues; you’ll risk ineffective sealing, sidewall failure, and technician removal needs. These potential risks mean sealants aren’t a permanent or universal fix.
How Long Does a Tire Sealant Last?
You’ll get temporary protection—typically a few days to about 100 miles or until a proper repair—depending on sealant application, puncture size and conditions. For tire maintenance tips, check pressure frequently and replace or repair promptly.
Can You Put Sealant on Car Tires?
Yes — 70% of drivers now carry sealant: you can apply it for quick tire maintenance. Choose proper sealant types, inject via the valve, drive ~0.2 miles to spread, then get professional repair within 100 miles.
Conclusion
Tire sealant can be a real lifesaver when you’re stranded with a small puncture, but don’t treat it as a permanent fix. Use it only for tubeless tires, confirm TPMS and spare status, follow kit instructions, and drive slowly to your repair shop—don’t push your luck. Treat sealant as a stopgap: get the tire professionally inspected and repaired or replaced ASAP to avoid hidden damage or failure down the road.
Related Articles

How to Read Motorcycle Tire Size: Complete Breakdown
Often misunderstood, this guide decodes motorcycle tire sizes like 180/55ZR17—learn what each number and letter means to ensure safe, perfect fitment.
Read More
How to Read Bicycle Tire Size: Inches, Metric & ISO
Get the essential trick to decoding ETRTO/ISO codes so you’ll always pick rim-compatible tyres—discover what to check next.
Read More
How to Read Tire Size Numbers: Decode the Sidewall
Step-by-step guide to decode tire sidewalls—sizes, load, speed, DOT and winter symbols—so you’ll know what fits and when to replace.
Read More