How to Fold and Store an Inner Tube to Prevent Damage
Deflate the tube completely, then roll it smoothly from one end to the other without kinks. Wrap the roll in a soft sock or cloth, dust it lightly with baby or talcum powder, and seal it in a ziplock with the valve cap secured. Store it in a cool, dark, dry place away from heat and ozone sources. Check, rotate, and briefly inflate every few months to prevent flat spots and brittleness—keep going to learn practical inspection and repair tips.
Quick Folding Steps for an Inner Tube
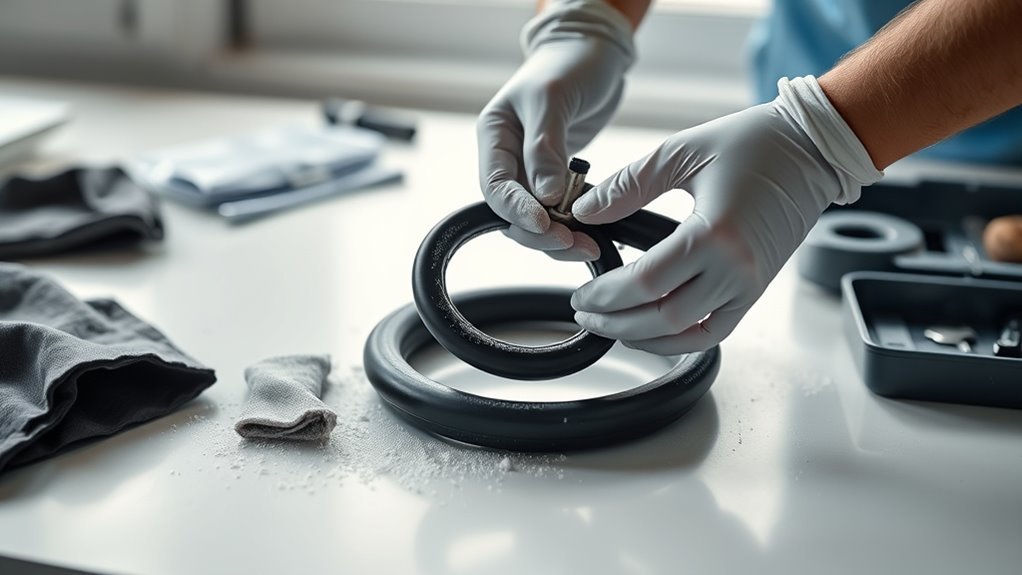
Start by fully deflating the inner tube to remove all pressure, then gently roll it from one end to the other into a smooth cylinder to avoid kinks. You’ll eliminate stress points and make inspection easier, which is core to good inner tube maintenance. Don’t use rubber bands; they can react with the rubber and cause degradation. Instead, wrap the roll in a soft sock or cloth to shield it from dirt and abrasions. Place the wrapped tube in a ziplock bag and add a light dusting of baby or talcum powder to keep surfaces lubricated and flexible. Store the bag in a cool, dry spot—mind the storage temperature to avoid heat or freezing, both of which shorten tube life.
Tools and Protective Materials to Pack a Tube
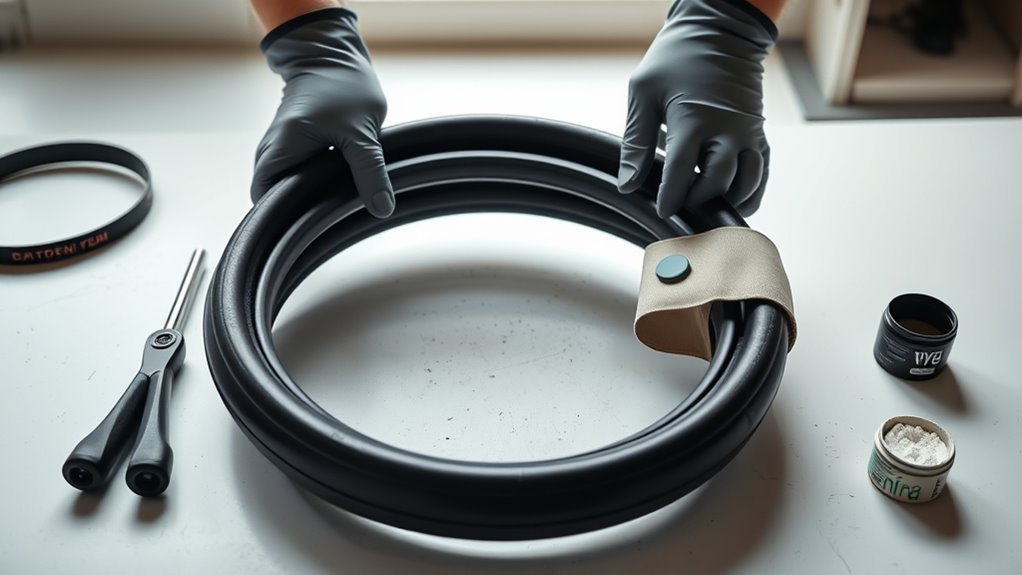
You’ll want a soft wrap—like an old sock or nylon stocking—to cushion the folded tube and keep grit off the rubber. Pack it in a ziplock with a dusting of baby or talcum powder, keep the valve cap on, and skip rubber bands to avoid chemical damage. Also bring essentials: a small pump, patch kit, and a spare valve cap so you’re ready when you need the tube.
Protective Wrapping Options
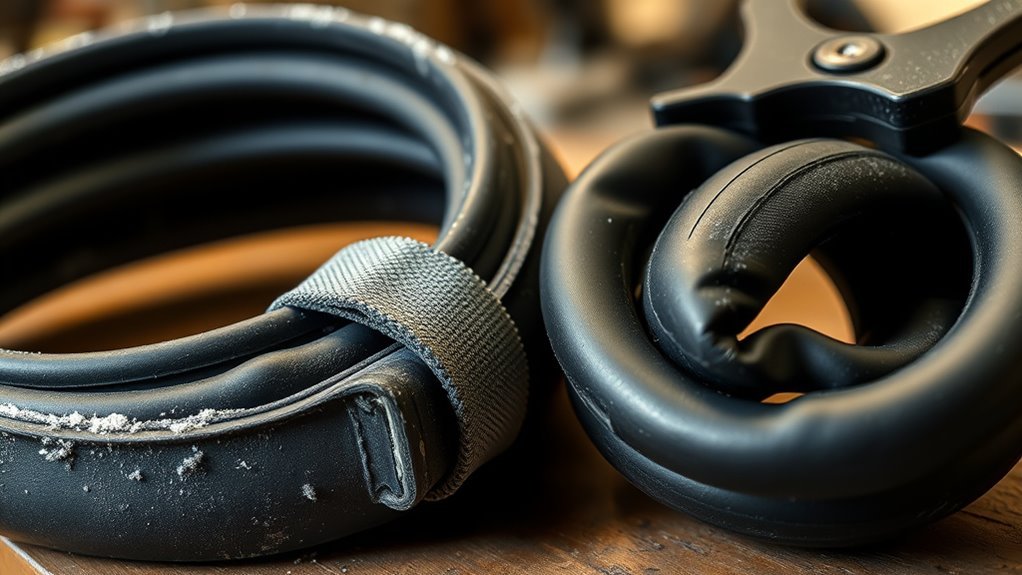
One simple step to protect a folded inner tube is to wrap it in a thin barrier—an old sock, lightweight nylon sleeve, or cloth—to block grit and reduce abrasion during storage. You’ll balance safety considerations with material choices: pick lint-free, non-reactive fabrics, keep the valve cap on, and never use rubber bands. After wrapping, slip the tube into a ziplock with a little baby or talcum powder to lubricate and prevent sticking. Inspect periodically for cuts, pressure loss, or degradation so it’s ready when you need it.
| Feeling | Image | Promise |
|---|---|---|
| Relief | soft fabric | protection |
| Confidence | sealed bag | longevity |
| Readiness | capped valve | reliability |
| Simplicity | single sock | quick prep |
Essential Packing Tools
Having wrapped and bagged your tube, gather a few simple tools and protective items to keep it safe and ready. You’ll use basic packing techniques and sensible storage solutions to prevent damage and ease future use. Secure the valve cap, avoid rubber bands, and keep everything dry and shaded.
- Old or nylon sock for a lightweight protective wrap
- Ziplock bag plus baby or talcum powder to reduce friction
- Valve cap (spare) to prevent punctures during handling
- Soft cloth for spotting dirt before packing
- Small, labeled container to store the bagged tube in a dry, dark place
These items keep the tube lubricated, shielded from debris, and protected from heat or sunlight, extending its life.
Inspect and Clean the Tube Before Storage
Before you pack an inner tube away, inspect it closely for cuts, punctures, thinning rubber or other signs of wear, and clean it with mild soap and water to remove grit and oils that cause deterioration. Check the entire surface, run your fingers along seams, and look for bubbles or soft spots that signal degradation. Focus on the valve area—clear dirt, grit, and moisture so the seal and cap stay functional. Rinse thoroughly and pat dry with a lint-free cloth, then air-dry completely away from direct heat. These maintenance tips help prevent mold and extend tube longevity. Before reuse, inflate slightly and listen or submerge to confirm there are no leaks; repeat inspection regularly as part of routine upkeep.
Roll and Fold an Inner Tube: Step-by-Step
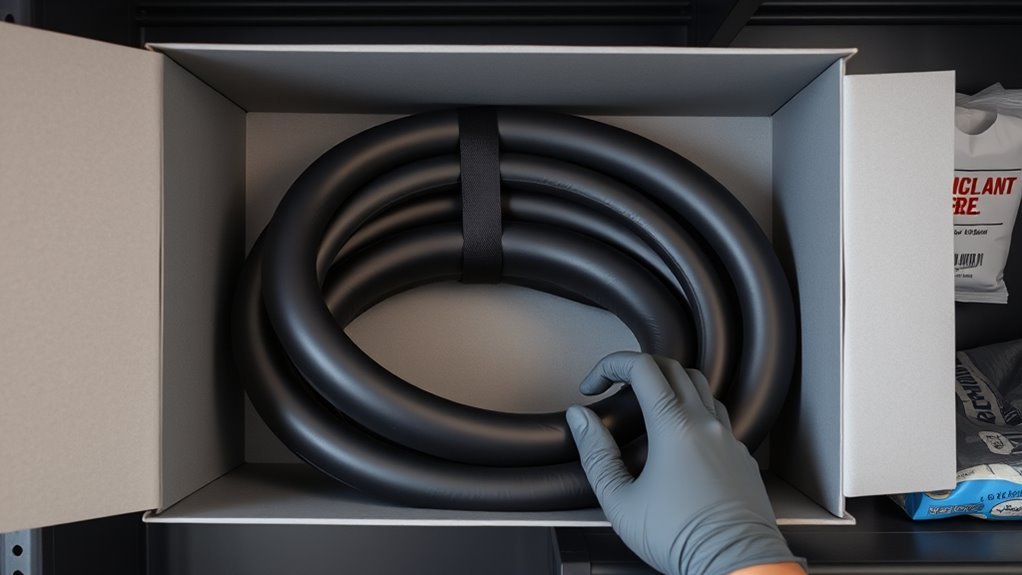
Now that the tube’s clean and checked, it’s time to fold and roll it for compact, safe storage. Start by flattening and folding any excess length, then roll tightly from one end to the other without trapping air or making sharp kinks. Secure the roll in a soft wrap and place it in a sealed bag with a little powder to prevent sticking and abrasion.
Clean And Inspect Tube
Wipe the inner tube down with a damp cloth to remove grit and oil, then inflate it slightly and run your hands along the surface to check for cuts, punctures, or slow leaks; catching contaminants and damage now prevents problems during rolling or long-term storage. Use these tube maintenance tips to keep rubber healthy and choose a stable storage environment away from sunlight and chemicals.
- Remove dirt and debris with a soft, damp cloth.
- Inflate slightly and listen/feel for escaping air.
- Mark or repair any small punctures before folding.
- Avoid sharp bends or creases that stress the rubber.
- Place the clean tube in a protective wrap to block moisture and dust.
Inspect valves for corrosion and replace damaged tubes—don’t store compromised rubber.
Fold And Roll Tightly
Deflate the tube completely, then start rolling it tightly from one end toward the valve, keeping it flat and free of twists or kinks so it stays compact and damage-free. Use deliberate rolling techniques: keep steady pressure, align edges, and stop if you feel a fold forming. When fully rolled, slip a lightweight cover — a dress or nylon sock works well — over the roll to shield the rubber. Alternatively, if space or preference dictate, fold the tube in half, then in half again to create a compact shape and drop it into a ziplock bag. Always cap the valve before storing to prevent punctures and contamination. These tube maintenance steps prolong life and guarantee readiness for emergencies.
Pack Tubes Safely: Socks, Ziplocks, Powder, Valve Caps
If you want spare tubes to survive a ride and be ready when you need them, wrap each one in an old sock or lightweight nylon, put it in a zip‑lock with a little baby or talc powder, and screw on the valve cap before sealing the bag. Use sustainable materials like recycled socks or breathable nylon to pair practical protection with storage innovations. The powder prevents sticking; the sock buffers abrasion; the cap shields the valve stem.
Wrap spare tubes in a sock, add talc in a zip‑lock, cap the valve—clean, protected, and ride‑ready.
- Wrap tube in a sock or nylon sleeve
- Add a pinch of baby/talc powder in the bag
- Screw on valve cap before sealing
- Use zip‑lock bags to block dirt and moisture
- Inspect periodically and inflate briefly
Avoid rubber bands; they can degrade rubber. Rotate and check tubes so they’re ready.
Ideal Storage Conditions for Inner Tubes
Because sunlight, moisture, heat and ozone all accelerate rubber breakdown, store tubes in a cool, dry, dark spot away from windows, heaters, air conditioners and electrical equipment. You’ll want temperature control and ideal humidity: aim for a stable, moderate range to prevent cracking or loss of elasticity. Keep tubes wrapped in socks or ziplocks with powder, inspect them periodically, and inflate occasionally to retain shape. Avoid placing them near appliances that produce ozone or heat.
| Location | Temp range | Notes |
|---|---|---|
| Closet | 10–20°C | Dark, stable |
| Basement (dry) | 8–18°C | Check humidity |
| Shelf in garage | 10–22°C | Avoid doors |
| Storage bin | 12–20°C | Use wraps |
| Drawers | 10–20°C | Easy access |
Avoiding Chemical, Heat, and Ozone Damage
Having picked the right spot and kept tubes wrapped and occasionally inflated, you also need to guard them from chemical, heat, and ozone exposure. Store tubes away from direct sunlight, radiators, and hot machinery to prevent rubber brittleness and cracking. Keep them clear of solvents, fuels, and cleaners to avoid damaging chemical reactions. Don’t place tubes near air conditioners, motors, or electrical gear that produce ozone; ozone accelerates degradation. Use simple protective measures to limit exposure and contamination.
Store tubes wrapped in a cool, dark spot, away from heat, solvents, and ozone-producing equipment.
- Store in a cool, dark place
- Keep tubes wrapped (sock or cloth)
- Separate from fuels and solvents
- Avoid ozone-generating equipment
- Inspect before use for any stiffness or cracks
These steps cut risk and extend tube life.
Routine Checks: Inflate, Rotate, and Inspect Stored Tubes
When stored tubes sit unused for months, you should still inflate, rotate, and inspect them every few months to catch slow leaks, prevent flat spots, and spot cracks or brittleness early. Inflate to recommended pressure for basic leak testing, listen and feel for escaping air, and mark any weak tubes for repair or disposal. Practice storage rotation so no tube stays compressed long; swap positions and refold gently to avoid stress lines. Inspect in a clean, dust-free area, checking valve stems, seams, and rubber for brittleness. Keep records of checks to track degradation.
| Task | Frequency | Notes |
|---|---|---|
| Inflate & leak testing | Every 2–3 months | Use recommended pressure |
| Rotate positions | Every 2–3 months | Prevent flat spots |
| Visual inspection | Every 2–3 months | Check valves, seams |
| Record keeping | Each check | Track wear over time |
Common Mistakes and Troubleshooting Damaged Tubes
A few simple mistakes can turn a perfectly good inner tube into a roadside liability, so you should know what to avoid and how to spot damage early. You’ll prevent failures by using proper tubing techniques and routine maintenance tips: wrap tubes, cap valves, and store them away from heat and sunlight. Don’t use rubber bands; they trigger chemical degradation. Inspect tubes periodically for cracks, abrasions, or soft spots. If you find damage, patch only small punctures with a quality kit; replace tubes with large cuts or brittle areas.
- Leaving tubes unwrapped exposes them to punctures and abrasions
- Using rubber bands causes rubber degradation
- Forgetting valve caps invites punctures
- Skipping inspections lets cracks grow
- Storing in heat/sunlight causes brittleness
Frequently Asked Questions
How to Store a Spare Inner Tube?
Store the spare inner tube in cool, dry storage conditions: roll it gently, tuck the valve, put it in a ziplock with light powder, keep valve cap on, avoid rubber bands, and inspect regularly for inner tube maintenance.
Do Self-Sealing Inner Tubes Work?
About 70% of small punctures get sealed—you’ll find self-sealing benefits real for puncture prevention, but they’re not foolproof; you’ll need periodic maintenance, resealing larger cuts, and occasional traditional repairs for bigger damage.
Should I Deflate My Bike Tires for Storage?
Yes — you should deflate to low tire pressure (about 20–30 psi) for seasonal maintenance; this prevents deformation and cracking, makes storage easier, and you should check pressure occasionally to keep tires in good condition.
Conclusion
Like folding a map before a long trip, storing your inner tube right redirects future rides. Treat it gently—clean, dry, powder, cap the valve, and tuck it into a sock or bag—so it doesn’t learn bad habits from heat, ozone, or chemicals. Regularly check and rotate your stock like tending a garden: small upkeep keeps rubber resilient. These simple rituals protect more than rubber; they preserve readiness, confidence, and the freedom to roll when you’re ready.
Related Articles

How to Read Motorcycle Tire Size: Complete Breakdown
Often misunderstood, this guide decodes motorcycle tire sizes like 180/55ZR17—learn what each number and letter means to ensure safe, perfect fitment.
Read More
How to Read Bicycle Tire Size: Inches, Metric & ISO
Get the essential trick to decoding ETRTO/ISO codes so you’ll always pick rim-compatible tyres—discover what to check next.
Read More
How to Read Tire Size Numbers: Decode the Sidewall
Step-by-step guide to decode tire sidewalls—sizes, load, speed, DOT and winter symbols—so you’ll know what fits and when to replace.
Read More