How to Convert Tube Tires to Tubeless on a Bicycle
You can convert tube tires to tubeless by confirming your rims are tubeless‑ready, cleaning the rim bed, applying proper tubeless tape and a valve, then mounting tubeless or conversion tires so the beads sit in the rim’s center channel. Add 60–120 ml sealant through the valve or bead gap, rapidly inflate to snap the beads, spin and rock the wheel to spread sealant, then check for leaks. Follow basic maintenance and troubleshooting to keep the setup reliable and learn the finer tips.
Before You Start: Tubeless Tools, Tyres, and Rim Requirements
Before you start, confirm your rim is explicitly labeled “Tubeless Ready” or compatible with a tubeless conversion system—standard rims won’t seal reliably. You’ll check tire compatibility next: choose tubeless or tubeless-ready tires rated for your rim types so bead seating and air retention work together. Gather essential tools—scissors for cutting tape, a seal pick or small screwdriver for valve work, correct tubeless valves, and quality rim tape. Clean the rim channel thoroughly with a non-oily solvent so tape bonds securely. Plan to use tubeless sealant after seating to seal punctures and maintain pressure. Don’t attempt tubeless on incompatible rims or with non-tubeless tires; matching tire compatibility to rim types prevents leaks and failures.
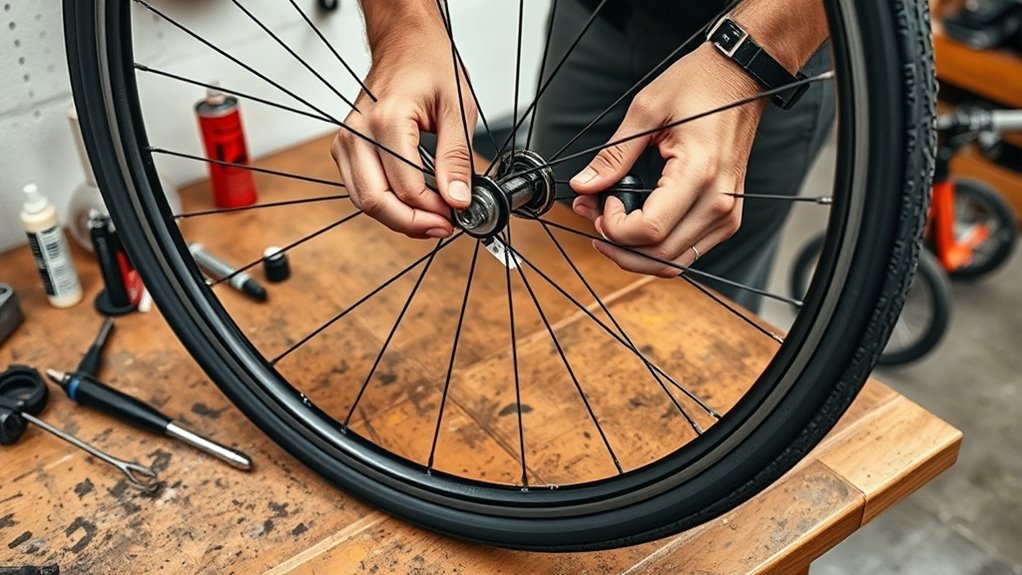
Prep the Rim: Clean, Tape, and Install the Tubeless Valve
Start by stripping any old rim strip and wiping the rim bed and spoke holes with a solvent like isopropyl alcohol or acetone to remove oil and dirt—this guarantees tape will bond. Perform rim cleaning thoroughly, let it dry, then apply tubeless tape matching rim width. Overlap the valve hole by 4–8 cm and press tape flat.
| Step | Why it matters |
|---|---|
| Clean rim | Removes oil for tape adhesion |
| Apply tape | Creates airtight seal |
| Punch hole | Precise hole aids valve installation |
| Install valve | O-ring and nut prevent leaks |
Use a seal pick to cut a neat round hole at the valve location. Insert the tubeless valve, fit the O-ring, and tighten the nut. Inspect tape and valve for leaks before mounting the tyre.
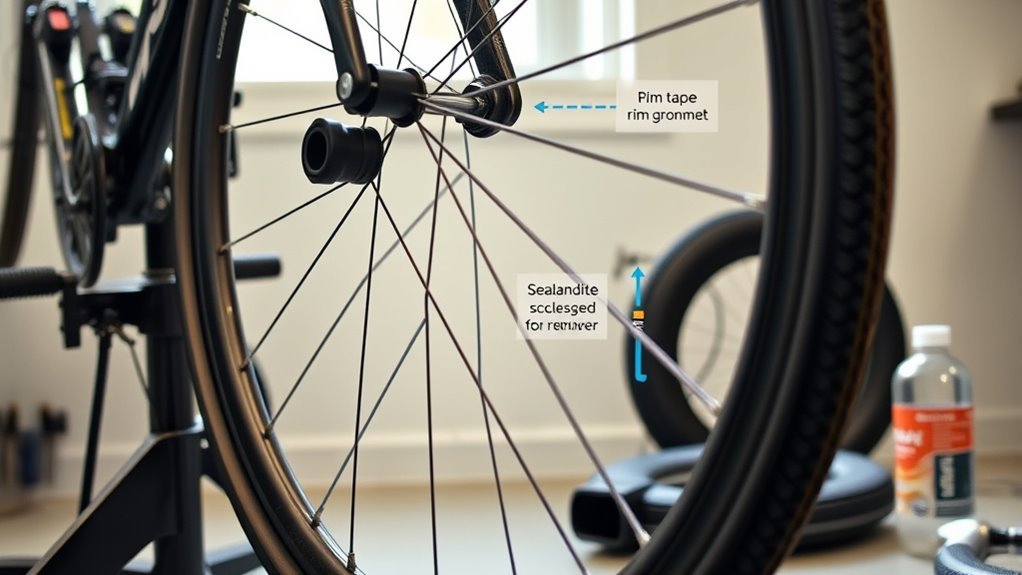
Mount the Tyre and Seat the Bead for a Tubeless Setup
With the valve in place and your tape checked for leaks, seat the tyre by fitting one bead into the rim’s center channel and working the second bead on carefully, leaving a small gap at the valve area for adding sealant. Push the first tire bead fully into the rim channel so it sits low and gives clearance for the second bead. Work the second tire bead around the rim, using tire levers only if necessary, and keep that small valve gap. Once mounted, you’re ready to add sealant and inflate.
- Make sure the tire bead seats evenly in the rim channel before inflating.
- Keep the valve gap accessible for sealant entry.
- Avoid pinching the bead or tape when working the tyre.
- Inspect bead alignment around the rim before final inflation.
Add Sealant and Inflate: Tips for Getting an Airtight Seal
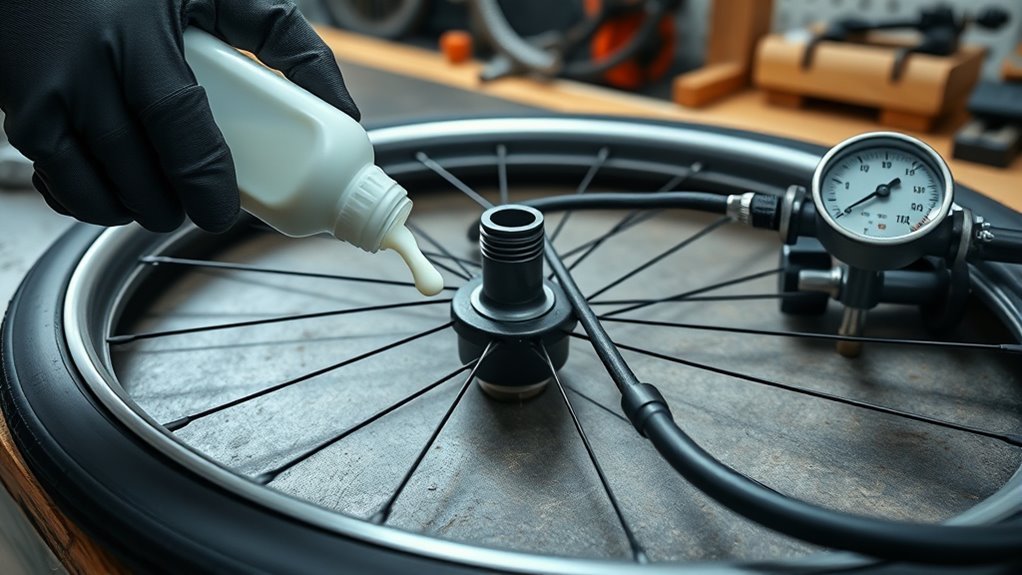
Once the tyre’s beads sit evenly in the rim channel and the valve is accessible, add the recommended 60–120 ml of sealant through the valve core or a small gap, then rapidly inflate the tyre so the beads snap into the rim and form a seal. Check that rim tape overlaps the valve hole by 4–8 cm and sits flat to prevent leaks. Use the sealant type suited to your riding and temperature—latex for quick sealing, thicker formulas for larger punctures—and follow manufacturer dosing. Employ high-volume inflation techniques (compressor or track pump) to seat beads reliably. After inflation, spin the wheel and rock the tyre side to side to spread sealant. Let it rest several hours so the sealant coats the inner surface and creates an airtight seal.
Fix Common Seal and Seating Problems (Quick, Step‑By‑Step)
If the bead won’t seat, give a short, firm blast of air and listen for the pop as the bead snaps onto the rim. Spin the wheel while you top up so the sealant spreads evenly and seals small punctures or stem areas. Double‑check that rim tape overlaps the valve hole and the valve nut is tight, then add sealant through the valve or a gap if leaks persist.
Sealant Distribution Techniques
Start by seating and distributing sealant deliberately: inflate the tire, then give the wheel a few quick spins and firm shakes so the sealant coats the inner surface and finds gaps or punctures. Use the right sealant types for your conditions—thin latex for fast coating, thicker slurry for larger cuts—and learn simple distribution methods to get even coverage. If seating needs force, a short burst above 30 psi helps the bead pop; a bead blaster or high‑volume pump can assist persistent cases. Let the tire sit upright for several hours so sealant settles and cures. If you see leaks, add air, rotate and shake to move sealant to the spot, then recheck pressure.
- Spin and shake immediately
- Use correct sealant type
- Burst air if bead resists
- Let settle several hours
Bead Seating Troubleshooting
After you’ve distributed sealant and given the tire time to settle, focus on seating the bead so the rim and tire form an airtight union. Confirm bead alignment around the rim; misalignment prevents sealing. Inflate rapidly—use high-volume inflation techniques or a compressor—to produce the characteristic pop that locks the bead. If you don’t hear it, deflate and reposition the bead, then try again. Rotate the wheel and bounce it to spread sealant into gaps. Inspect the bead-rim interface and use soapy water to find bubbles indicating leaks. Address visible gaps, retape the rim if tape is damaged, or swap to a tubeless-compatible tire if fit is poor. Repeat inflation techniques after adjustments until no leaks show and the bead holds air.
Maintain Tubeless Tyres: Topping Up Sealant, Pressures, and Inspection
While tubeless systems save you flats, they still need regular attention: check sealant every 2–6 months and top it up as needed, keep pressures within the manufacturer’s range (typically 25–35 psi), and inspect sidewalls and tread for cuts or punctures that could break the seal. You should follow a simple inspection routine and monitor sealant longevity to prevent failures. Check tire pressure weekly and before long rides to detect air loss early.
- Top up sealant every 2–6 months; shake bottle and add manufacturer’s recommended amount.
- Keep tire pressure within the recommended range (often 25–35 psi) for handling and seal integrity.
- Inspect sidewalls, tread, and bead for cuts, embedded debris, or bruising.
- Rotate tires periodically to even wear and extend service life.
Frequently Asked Questions
Can I Convert My Tube Tire to Tubeless?
You can, but only if your rims and tires meet tire compatibility; follow installation tips: remove the tube, apply tubeless rim tape and valve, mount the tubeless-ready tire, add sealant, and inflate to seat and check for leaks.
Can You Make a Tube Type Tire Tubeless?
Yes — you can if the tire has tire compatibility for tubeless or is tubeless-ready; you’ll need proper tape, valves and sealant application, and you’ll check for airtight seating and leaks before riding.
Do I Need a Special Pump for Tubeless Tires?
You don’t strictly need a special pump, but you’ll want one that achieves proper tire pressure and aids sealing methods; a high‑volume or tubeless inflator makes seating beads and creating an airtight seal much easier and faster.
Conclusion
You’ve converted your tires, calibrated components, and can confidently conquer rough routes. Keep checking sealant—top up twice yearly—test pressures before every ride, and promptly patch persistent leaks. Stay sharp with a spare valve tool and plugs, clean rims regularly, and reseat beads with a high-volume pump when needed. Consistent care prevents punctures, preserves performance, and prolongs puncture‑proof peace of mind for smoother, safer, stress‑free spinning.
Related Articles

How to Read Motorcycle Tire Size: Complete Breakdown
Often misunderstood, this guide decodes motorcycle tire sizes like 180/55ZR17—learn what each number and letter means to ensure safe, perfect fitment.
Read More
How to Read Bicycle Tire Size: Inches, Metric & ISO
Get the essential trick to decoding ETRTO/ISO codes so you’ll always pick rim-compatible tyres—discover what to check next.
Read More
How to Read Tire Size Numbers: Decode the Sidewall
Step-by-step guide to decode tire sidewalls—sizes, load, speed, DOT and winter symbols—so you’ll know what fits and when to replace.
Read More