
Flat Tire on the Highway: Safe Steps to Pull Over & Fix
If your tire blows on the highway, stay calm, signal, and steer smoothly to the shoulder or nearest exit, activating hazards and braking gently; stay in the car if traffic’s heavy and call for help if it’s unsafe to exit. Once stopped, engage the parking brake, check surroundings, inspect the spare, jack, and lug wrench, loosen lug nuts, lift at the manufacturer’s jack point, swap the tire, tighten nuts in a star pattern, check pressure, and follow up with a pro for repair or replacement to learn more.
How to Tell It’s a Flat Tire
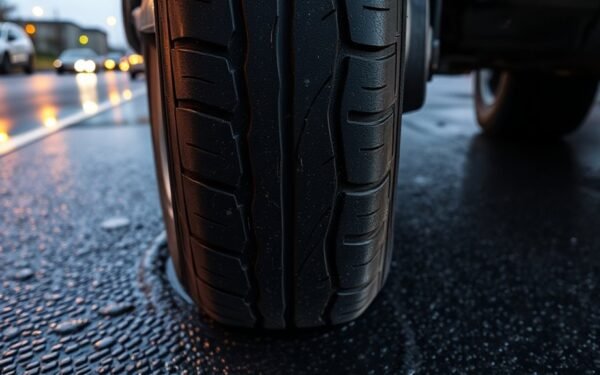
Noticing a flat tire early can keep you safe and prevent further damage. You’ll recognize tire symptoms through changes in driving sensations: the steering may pull to one side, the car might feel unstable, or you’ll sense uneven handling. Look for visual cues—one tire will appear lower or deflated beside the others. Listen for auditory warnings: a steady thump or a hissing sound often signals air escaping. Check the dashboard; the TPMS light will alert you to low pressure. Use your hand to run along the tire surface (when cool and safe) to feel for bulges, cuts, or uneven tread that indicate damage. Trust what you sense and see; don’t dismiss subtle shifts in control. Acting on these clear signs lets you reclaim control, prevent further harm, and prepare to take the next safe steps. Recognize the signs early and you’ll protect yourself and your vehicle.
Pull Over Safely on a Highway
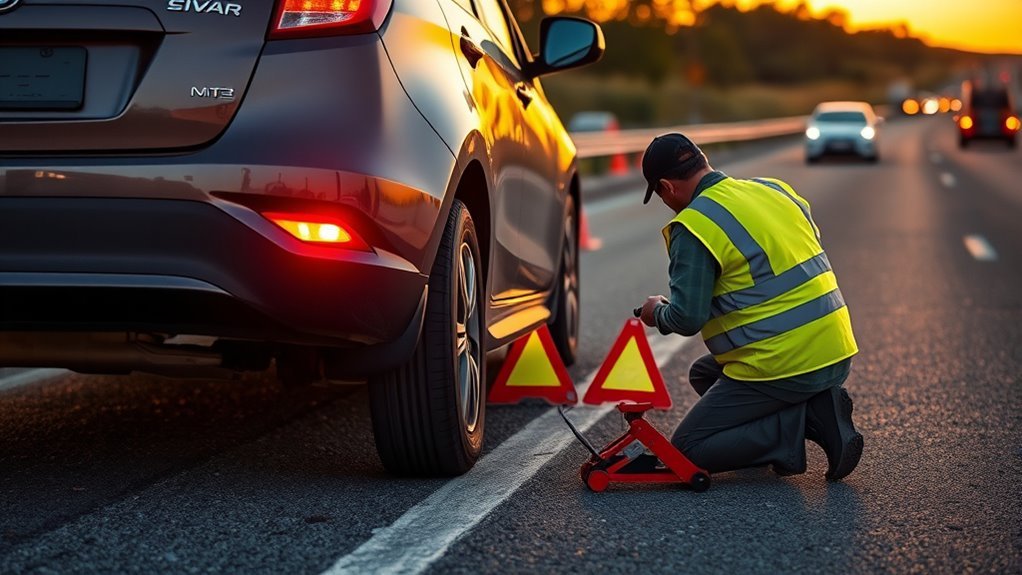
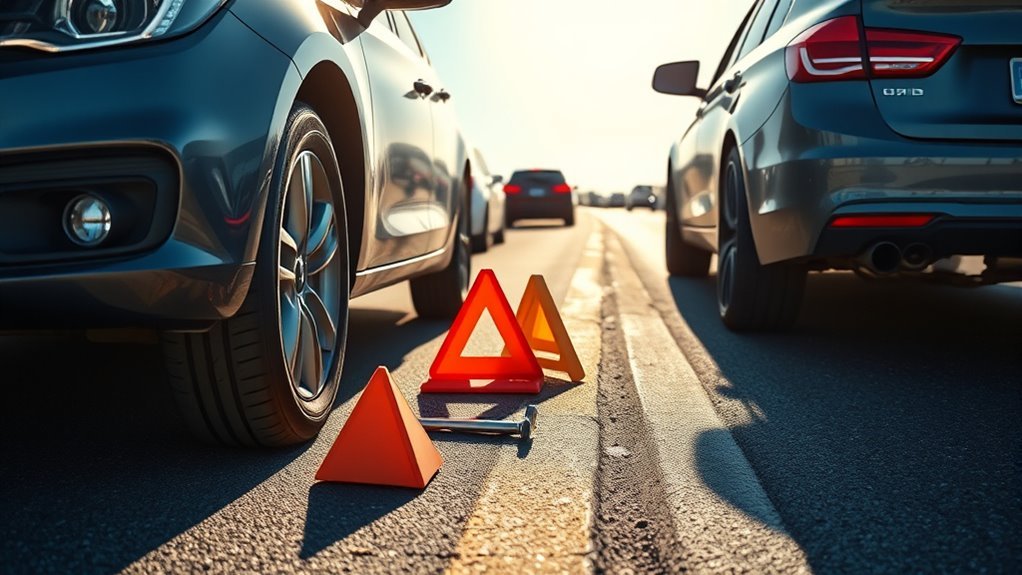
When you feel or see a flat tire on the highway, move out of traffic and find the nearest safe spot—preferably the breakdown lane, a wide shoulder, or a nearby gas station—and turn on your hazard lights as you slow. Stay calm and control the vehicle; signal early and steer smoothly to avoid sudden moves that unsettle traffic. Once stopped, engage the parking brake so your car won’t roll, especially on any incline. Assess your surroundings before opening the door; if traffic is heavy, stay inside with seatbelt fastened until it’s safer. If conditions allow, set warning triangles or flares behind your vehicle to increase visibility and protect everyone on the scene. These steps assert your right to move freely while prioritizing highway safety and basic tire maintenance readiness. You’ll protect yourself and others, keep the road flowing, and preserve the freedom to resolve the situation without unnecessary risk.
Take Immediate Safety Steps Before Exiting
As soon as you notice the flat, pull into a safe spot away from traffic and turn on your hazard lights to warn other drivers. If you’re on a busy highway, stay inside with your seatbelt fastened until it’s truly safe to get out. When traffic has slowed and you can exit, set the parking brake and consider placing warning triangles or flares behind the car.
Choose A Safe Spot
Pick a flat, level spot well away from traffic—like a breakdown lane or a gas station—and pull over safely; activate your hazard lights immediately and set the parking brake so your car won’t roll. You want safe locations that let you breathe, assess, and act without fear. Keep traffic awareness high and stay inside until it’s truly safe to exit.
- Feel the relief of distance from speeding cars.
- Hear the calm when you choose a stable, level ground.
- See other drivers notice your warning devices and slow.
- Know the parking brake keeps your vehicle from slipping.
- Imagine stepping out only when the road feels controlled.
Choose freedom through deliberate choices: pick safety, keep alert, and reclaim control.
Activate Hazard Lights
1 simple action can drastically reduce risk: turn on your hazard lights the moment you pull over so other drivers immediately see that your car is stopped and may be a roadside hazard. Do it before you open any door. Hazard lights are a universal visual signal that boosts vehicle visibility and warns approaching traffic to slow and steer clear. Many states legally require them when you’re stopped on a highway, so using them protects you and keeps you compliant. Keep the lights blinking until the issue’s fully resolved or you’ve safely cleared the roadside—don’t assume others notice once you step away. This small, decisive step asserts control, centers your safety, and preserves freedom to address the flat without unnecessary danger.
Stay Inside Vehicle
When a tire blows on the highway, stay inside with your seatbelt on until you can safely assess the situation or reach a protected spot—exiting too soon puts you at real risk from fast-moving traffic. Keep hazard lights on, breathe, and focus on vehicle safety and staying calm. If you can, steer to the breakdown lane or toward a well-lit exit before stopping. Stay put until traffic is clearly separated from your car; only then consider exiting.
- Fear is natural—feel it, but don’t act on it.
- Think clearly; every decision protects your freedom to move later.
- Each precaution reduces risk and restores control.
- Use warning triangles or flares when safe.
- Your life matters more than the tire.
Check Tools and Spare Tire Condition
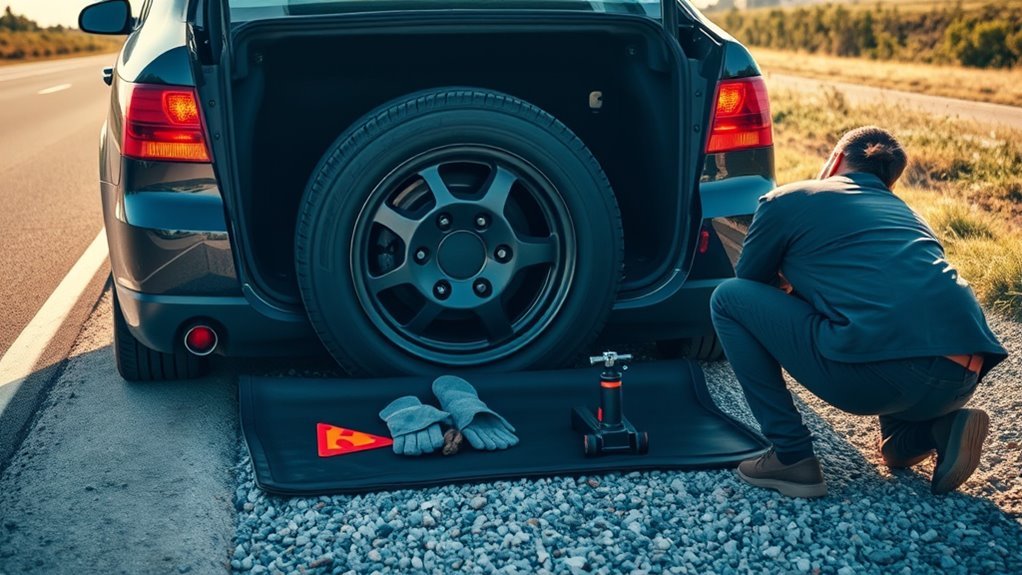
Before you need it, verify your spare and tools are ready: check the spare’s pressure against the manufacturer’s recommended PSI, inspect the tire for cracks, bulges, or dry rot, confirm the jack and lug wrench are where the owner’s manual says they should be, and make certain the lug wrench fits your lug nuts snugly to avoid stripping. You’ll practice tire maintenance and tool accessibility so a breakdown doesn’t trap you. Keep a pressure gauge and small repair kit in the trunk. Inspect the spare monthly and after long trips. Verify the jack’s condition and that the lug wrench isn’t bent or worn.
| Item | Action |
|---|---|
| Spare tire | Check PSI, inspect for damage |
| Jack | Confirm location, test operation |
| Lug wrench | Ensure correct fit, no wear |
| Pressure gauge | Store accessible, use monthly |
| Repair kit | Keep for minor punctures |
These checks protect your freedom on the road and let you respond swiftly and confidently.
Loosen Lug Nuts and Position the Jack
Start by breaking the lug nuts loose while the car is on the ground: use your lug wrench to turn each nut counterclockwise just enough to overcome initial resistance, but don’t remove them—this keeps the wheel from spinning when you lift it. You want control; loosening while the tire sits maintains stability and prevents movement. Use proven lug wrench techniques: steady pressure, foot braced, bend your knees and breathe out as you apply force.
Begin by slightly loosening lug nuts while the car’s grounded — steady, controlled pressure keeps the wheel stable.
Position the jack at the vehicle’s designated lifting point per the owner’s manual. Confirm the surface is flat and firm, and verify jack positioning safety before raising the car a few inches—steady, deliberate, sovereign action.
- You feel capable and prepared.
- The wrench bites; progress is real.
- The jack sits true beneath the frame.
- Stability replaces uncertainty.
- You reclaim mobility step by step.
Once lifted securely, you can remove the loosened lug nuts and set them somewhere safe, keeping momentum toward getting back on the road.
Remove the Flat and Install the Spare Tire
Lift the loosened lug nuts off the studs and set the flat tire aside—placing it under the vehicle provides a safety backup—then align the spare with the hub holes and push it onto the studs until it seats. You’ll feel when it’s flush against the hub; proper tire alignment prevents wobble and lets you secure the wheel confidently. Thread each lug nut by hand, turning them until they’re snug but not fully tight — this keeps the spare seated without risking cross-threading. Keep the flat under the car while you work as an added fail-safe. Stay deliberate: don’t rush or rely solely on the jack. Once all lug nuts are hand-tight, you’ve completed the critical install step and positioned yourself to restore mobility and autonomy. This is about control and safety; precise lug nut tightening comes next, but for now you’ve replaced the flat with a properly seated spare and a clear path to lower the vehicle and finish the job.
Lower the Car, Tighten Lug Nuts, and Check Safety

Lower the car slowly and make sure it’s resting securely on the ground before you remove the jack. Once lowered, tighten the lug nuts in a crisscross pattern and give each one a final check for snugness. Verify the spare’s pressure, stow your tools, clear the area, and head to a tire shop to confirm everything’s roadworthy.
Lower Vehicle Safely
Gently lower the jack until the spare tire sits firmly on the ground, then remove the jack and tighten the lug nuts in a star pattern with a lug wrench to guarantee even pressure. You want to follow safety precautions and confirm vehicle stability before moving. Check tire inflation and manufacturer’s torque specs to avoid surprises. Gently rock the car to reassess stability; if anything feels loose, stop and retighten.
- Relief as you hear the last click of a properly torqued nut
- Confidence when the spare holds firm under your touch
- Freedom from anxiety once the vehicle sits steady
- Empowerment knowing you followed safety precautions precisely
- Calm when the jack is stowed and the road feels safe beneath you
Final Lug Nut Check
Now that the spare is seated and the jack is supporting the car, bring the vehicle fully down until the tire bears the weight, then use your lug wrench to tighten each nut in a star pattern so pressure distributes evenly. Perform a disciplined final check: follow the manufacturer’s torque specifications and use a torque wrench if you have one, or tighten firmly with your lug wrench if not. Work methodically, alternating across the wheel to avoid warping. After torquing, scan each lug nut visually and feel for any looseness with the heel of your hand—re-torque if needed. Finally, check the spare’s air pressure and adjust to recommended psi. Only when lug nuts and pressure are correct should you rejoin the road with confidence and freedom.
Aftercare: Tire Pressure, Repair Options, and Next Steps
After you’ve swapped on the spare, check its pressure with a gauge to make sure it meets the manufacturer’s recommended PSI, tighten the lug nuts to spec, and drive straight to a tire shop—spares aren’t meant for long-term use. You’ll practice spare tire maintenance and perform pressure checks immediately, then move on decisively.
- Relief: knowing the spare is safe lets you breathe and keep going.
- Resolve: tightening lug nuts to spec prevents sudden failure.
- Confidence: inspecting other tires stops repeated setbacks.
- Clarity: consulting a pro on repair vs. replacement frees you from doubt.
- Momentum: heading to a shop keeps your journey moving forward.
At the shop, let a pro assess whether the flat can be patched or needs replacement; location and size of the puncture matter. Inspect all tires for wear or damage to prevent recurrence. Don’t accept temporary fixes as permanent—choose a durable repair or new tire and get back on the road with freedom and safety.
When to Call Roadside Assistance or Emergency Services
When should you call for help? You call roadside assistance when changing the tire feels unsafe—on busy highways, in poor light, or if traffic makes working by the shoulder risky. Prioritize roadside safety: move well off the pavement when possible, then call for professional help if you can’t. Contact emergency services immediately if there’s an accident, injuries, or other drivers are endangered by your stopped vehicle.
If the flat leaves your car immobile or you lack the tools or strength to change it, request a tow. Use your roadside assistance subscription if you have one; those plans often cover tire changes, towing, and related emergency services without extra fees. Keep emergency contacts and your provider’s number handy—store them in your phone and glovebox for rapid access. You’re entitled to safety and freedom on the road; don’t hesitate to summon trained help when conditions threaten your wellbeing or mobility.
Frequently Asked Questions
Can I Drive on a Donut Spare and for How Long?
Yes — you can drive on a donut spare, but respect donut limitations: keep spare speed below 50 mph, avoid long distances, and get a full tire ASAP. You’ll stay freer and safer by replacing it quickly.
Will My Car Warranty Cover Tire Repairs or Replacement?
An ounce of prevention pays off: you’ll often find tire warranty terms vary, and repair coverage depends on manufacturer or dealer policies. You’ll want to review warranty documents, keep receipts, and press for covered replacements confidently.
How Do Run-Flat Tires Change My Response to a Highway Flat?
Run-flat tires let you keep driving slowly after a puncture, boosting run flat advantages and emergency preparedness; you’ll reach safety without immediate tire changes, preserve freedom, but still check limits and get repairs promptly.
Can Tire Sealant Damage My Vehicle’s Tire Pressure Sensor?
Like lightning, yes—you’ll risk clogging or corroding TPMS components: tire sealant effectiveness varies and sensor compatibility isn’t guaranteed, so don’t assume safety; opt for approved sealants or professional service to protect your sensors.
What Should I Do if My Spare Tire Is Also Flat?
If your spare tire’s flat, don’t panic: assess spare tire options, call emergency roadside assistance, use a portable inflator or tire sealant if available, and refuse risky repairs; you’ll secure freedom by choosing safe, swift help.
Conclusion
You handled the flat like a calm captain steering through rough seas — you noticed the signs, pulled over smartly, secured the scene, and swapped the tire with steady hands. Now finish strong: lower the car, torque the lug nuts, check pressures, and stow tools. Get the damaged tire repaired or replaced, and call help if anything felt off. Keep emergency gear stocked so your next roadside chore’s a breeze.
Related Articles
Signs You Need New Tires: Visual & Performance Clues
Lifelong safety starts with spotting tread wear, bulges, or vibration—learn the simple checks that tell you when tires must be replaced.
Read More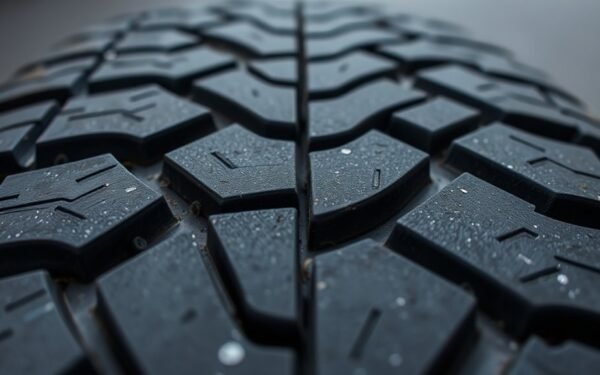
Tire Wear Indicator Bars: Built-In Safety Markers Decoded
On the brink of legal tread limits? Discover how tire wear indicator bars reveal danger and when to replace—read on to protect your ride.
Read More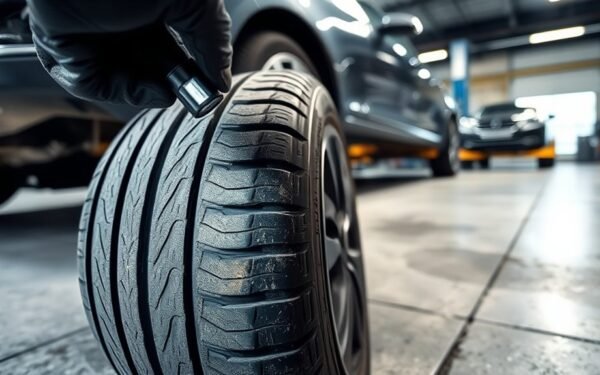
Tire Age Limit: How Old Is Too Old to Drive On?
When should you retire tires—learn the crucial six-year rule, warning signs, and what to check next to avoid sudden failures.
Read More