
Blog
Guides, tips, and insights for every driver.
ETRTO Tire and Rim Compatibility Guide: Charts, Ratios, and Safety Tips
Optimal tire-to-rim fit depends on matching ETRTO widths and pressures—discover safe ratios, handling effects, and exceptions before riding.
Read More
650b for Gravel Bikes: Traction, Comfort, and Setup Guide
Jump into why 650b (584 mm BSD) matters for gravel bikes—tire fit, clearance, pressures and benefits explained, but there's more to consider.
Read More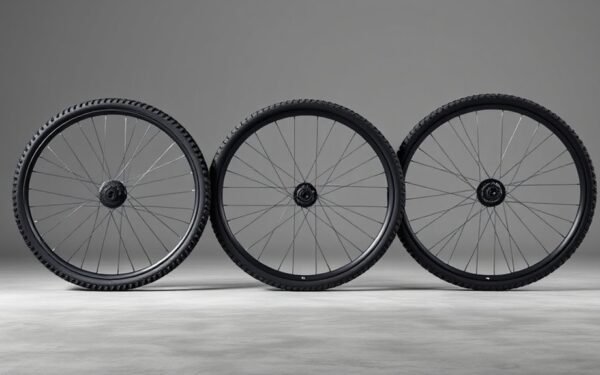
Mountain Bike Wheel Size Guide: 26 vs 27.5 vs 29 vs Mullet
Wheel size changes acceleration, traction, and handling—discover which of 26, 27.5, or 29-inch wheels suits your riding style and why.
Read More
700c Wheel Size Explained: BSD, Tire Widths, and Compatibility
I’m about to demystify what “700c” actually means for road bike tires—and why rim BSD and tire width matter for fit.
Read More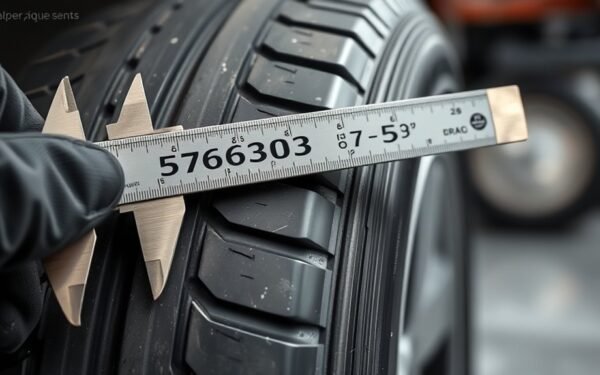
Tire Section Width Meaning: First Number on Your Tire
Broaden your understanding of tire section width—the first tire number that dictates fitment, handling, and clearance—discover how it truly affects performance.
Read More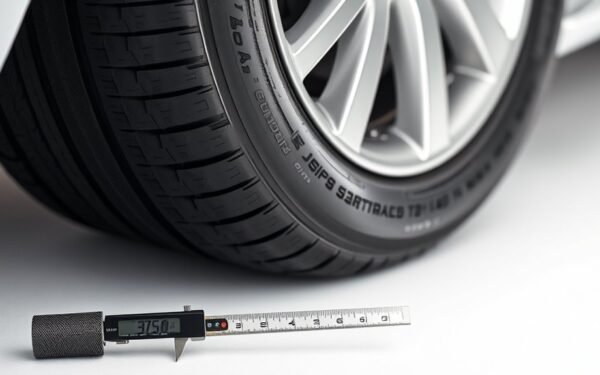
Tire Aspect Ratio Explained: What the Number Means
Get clear on tire aspect ratios—what the numbers mean for size, ride, and performance, and why one small digit can change everything.
Read More
How to Choose the Right Inner Tube for Your Bike
Curious which inner tube fits your wheel and valve type—discover quick sizing tips, common pitfalls, and easy fixes to keep riding confidently.
Read More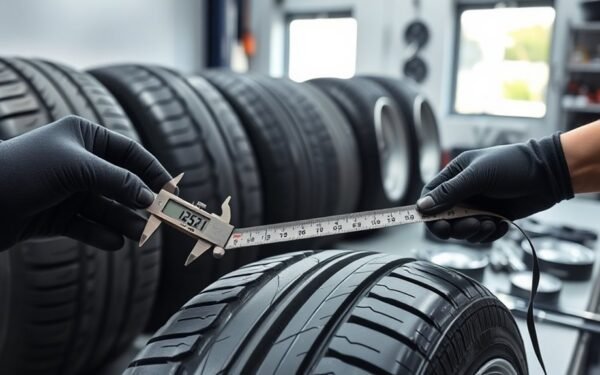
How to Read a Tire Code: Size, Load, Speed, and Fitment Explained
I decode tire codes and sizing so you can find the perfect fit—learn precise formulas and substitution rules to avoid costly mistakes.
Read More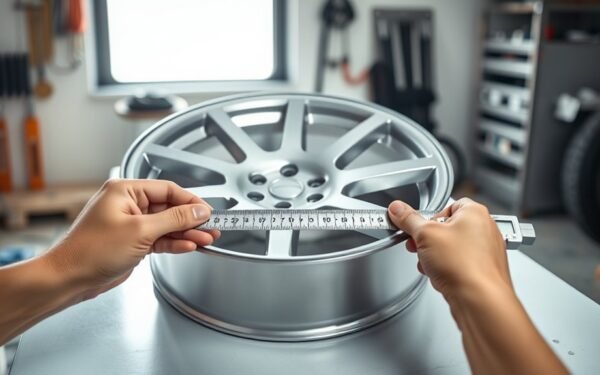
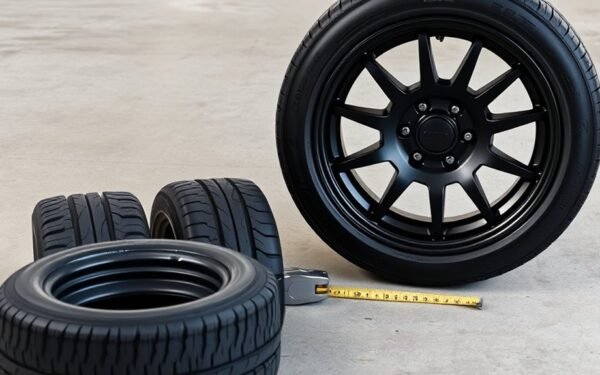
How to Measure Wheel Rim Diameter Accurately at Home
Simple steps to measure wheel rim diameter accurately at home—learn the essential setup, measuring technique, and common pitfalls to avoid.
Read More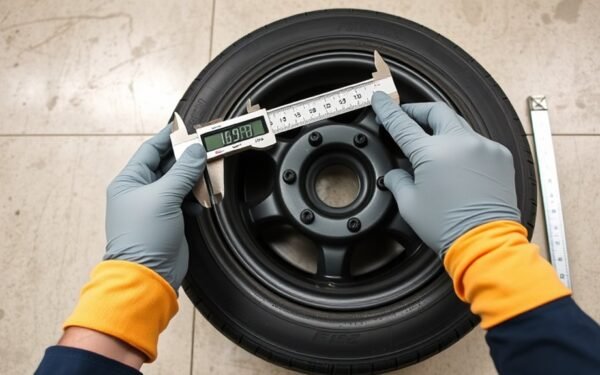
How to Measure Tire Width: Tools & Correct Method
Carefully measure tire width with the correct tools and setup, learn the step‑by‑step method and pitfalls to get accurate results—read on to avoid costly mistakes.
Read More