
How to Find a Slow Leak in a Hyundai Sonata Tire (5 Methods)
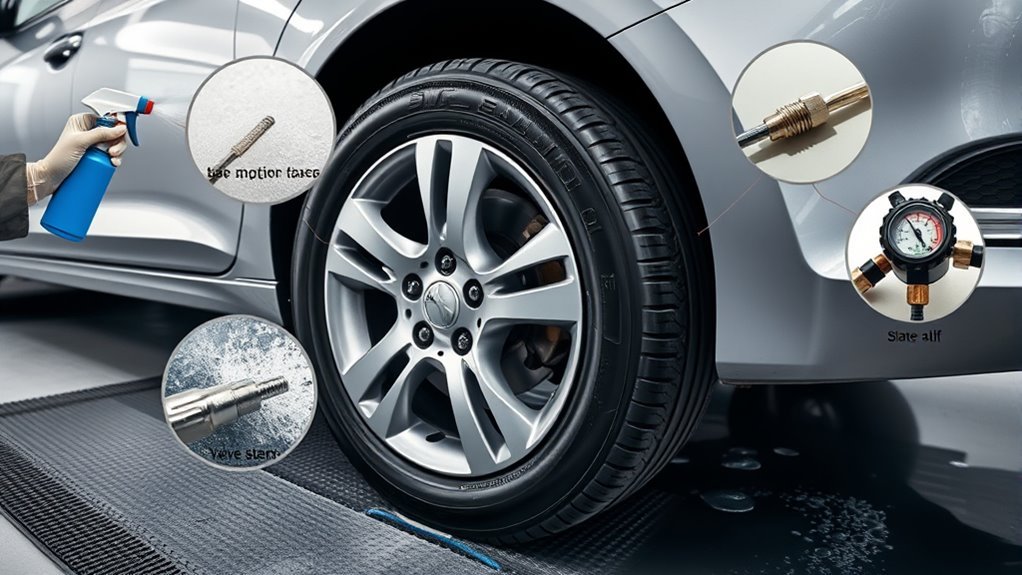
Start by checking tire pressures with a reliable gauge and log values; inspect tread and sidewall for cuts or embedded debris. Press the valve pin and use soapy water on the valve stem and core to reveal hissing leaks. Spray soapy solution over the tread, bead and rim seams, then submerge the wheel in water if bubbles persist. Mark and dry detected spots, then decide on plug, patch, or professional repair—keep going to learn specific steps and limits.
Quick Pressure and Visual Checks
Start by checking your Hyundai Sonata’s tire pressure with a reliable gauge and comparing it to the manufacturer’s recommended PSI; consistent drops indicate a leak. You’ll log readings for each tire, noting time and ambient temperature to support ongoing pressure monitoring. Next, perform a focused visual sweep: inspect tread and sidewalls for punctures, cuts, or uneven wear that signal slow loss. Don’t skip the valve stem—look for damage or corrosion that often causes leaks. Add a methodical bead inspection where tire meets rim; contamination or poor seating can allow air escape. If you suspect a point of loss, apply a soapy water solution to targeted areas and watch for bubbles to confirm the leak location. These tire maintenance tips establish a repeatable routine that puts you in control, reducing uncertainty and dependency on others. You’ll act decisively, identify the fault, and choose the most liberating next step for repair or replacement.
Can You Drive on a Slow‑Leaking Sonata Tire?
How long can you safely drive on a slow leak? You should treat any slow leak as a temporary condition: limit driving to short, low‑speed trips until you secure a repair. Continued driving accelerates air loss, causes uneven wear that degrades handling and stability, and raises the chance of overheating and a blowout. If the TPMS warns you, stop promptly and address the pressure drop—do not dismiss the alert.
For immediate action, check pressure, inflate to the recommended PSI, and plan for tire maintenance as soon as possible. Drive only at modest speeds, avoid heavy loads and long highway runs, and monitor pressure frequently. Prioritize replacing or professionally patching the tire rather than relying on temporary fixes. Your goal is freedom from recurring roadside risk: prompt attention preserves driving safety, maintains vehicle control, and prevents escalation into a hazardous failure.
Test the Valve Stem and Core
Check the valve stem and core next, since they’re common sources of slow leaks and easy to inspect without removing the tire. You’ll perform quick valve maintenance: visually examine the stem for cracks, corrosion, or missing cap. A missing or loose cap lets dirt and moisture in, so tighten or replace it immediately.
Next, test the core. Remove the cap and press briefly on the valve pin; a steady hiss means a leaking core. If you see corrosion at the base or material degradation along the stem, plan for core replacement or full stem service. Use soapy water sparingly to confirm bubbling at the stem—bubbles localize the leak without dismantling the wheel. If the core leaks, install a new Schrader core with a core tool; if the stem body is compromised, replace the stem assembly. Regular valve maintenance frees you from recurring air loss and reduces roadside vulnerability.
Soapy‑Water Checks: Tread, Bead, and Rim Seams
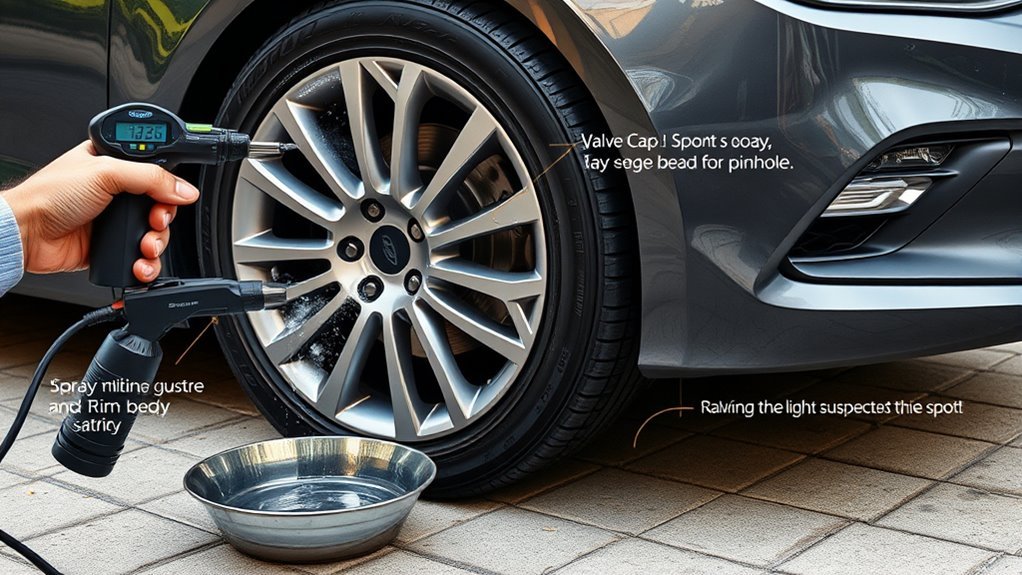
With the tire inflated to the manufacturer’s pressure, spray soapy water evenly over the tread surface to check for bubbles that mark punctures. Then concentrate on the bead where the tire meets the rim—coat the seam and rotate the wheel while watching for persistent bubbling from improper sealing or trapped debris. Finish by spraying around the rim seams and valve stem to guarantee you catch leaks hidden at the rim-tire interface.
Tread Surface Inspection
Start by inflating the tire to the manufacturer’s specified pressure and mix a soapy-water solution you can spray or apply with a brush; you’ll then work methodically around the tread, bead, valve stem, and rim seams looking for steady streams or clusters of bubbles that mark escaping air. Inspect the tread surface closely for punctures, cuts, or embedded debris; run your fingers (gloved) across the tread to detect irregularities caused by tire wear. Apply soapy solution in overlapping passes, watching for slow, persistent bubbling rather than transient foam. Mark any bubble source, remove the object if present, and reassess. Maintain recommended air pressure during testing to expose leaks accurately. Document findings so you can repair or replace the tire and reclaim mobility.
Bead And Rim Seams
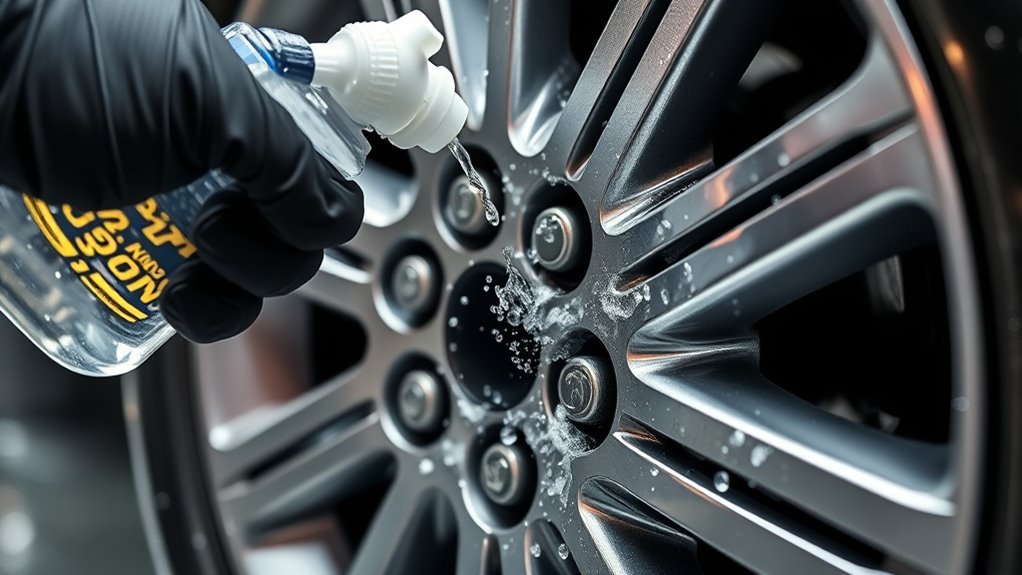
Before you apply soapy solution, inflate the tire to the manufacturer’s specified pressure and work methodically around the bead where the tire seats on the rim, then along all rim seams. You’ll coat the bead and rim seams with a soapy mix and watch for steady bubbles that mark escaping air. During bead inspection, clean dirt and old sealant so you get an honest read; improper seating or contamination hides leaks. Move slowly, rotating the wheel to cover the full circumference, and repeat if pressure was adjusted. Examine rim seams for cracks, pitting, or rim corrosion—these compromise the seal and create persistent slow leaks. Regular checks free you from sudden failures and prolong tire life through proactive maintenance.
Submerge the Wheel to Spot Hard‑to‑Find Leaks
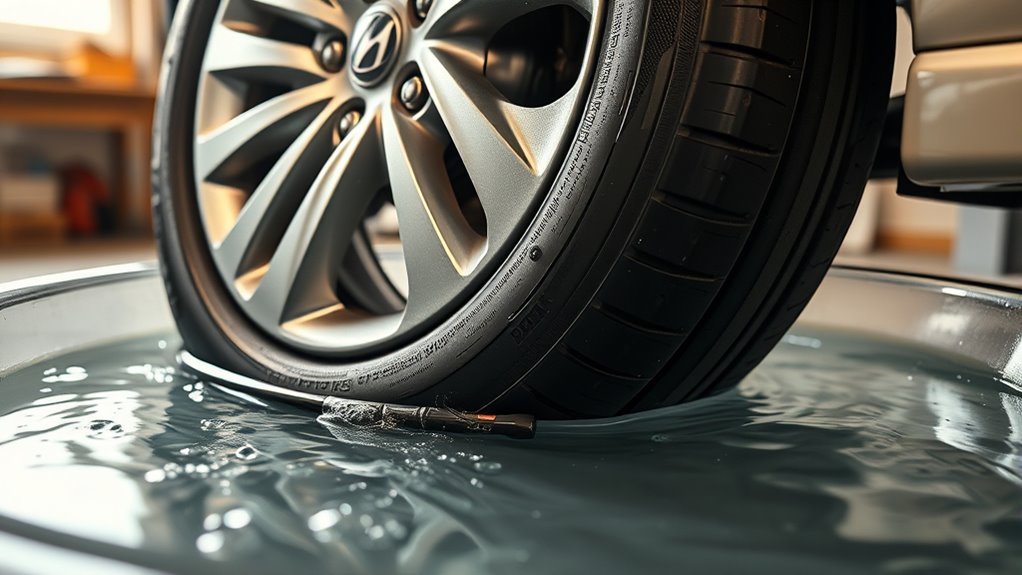
If you want to pinpoint a slow leak, inflate the tire to the recommended pressure and fully submerge the wheel in a large tub of water so you can watch for escaping air bubbles. During this tire inspection, watch for steady bubble formation anywhere on the submerged surface. Use a container large enough to cover the entire wheel so you don’t miss the bead, sidewall, tread, or valve stem.
Remain methodical: rotate the wheel slowly, pause, and watch each quadrant for small, repeatable bubbles that indicate an active leak. When you see bubbles, mark the exact spot with a waterproof marker so you can locate it once the tire is dry. Dry the marked area thoroughly before attempting any repair or seeking shop service. This submersion method exposes hard-to-find, low-flow leaks that other tests can miss, giving you clear, actionable evidence to reclaim control over your vehicle’s safety and freedom on the road.
Find Punctures From Nails, Screws, and Debris
1. Inspect the tread systematically to find punctures from nails, screws, and debris. You’ll use puncture identification techniques: scan visually, feel the circumference with a gloved hand, and illuminate with a flashlight to catch small embedded objects in uneven wear areas.
| Step | Action | Purpose |
|---|---|---|
| 1 | Visual scan with light | Locate visible nails/screws |
| 2 | Run hand slowly | Detect irregularities/holes |
| 3 | Tire pressure gauge | Localize leak via pressure drop |
| 4 | Soapy water test | Reveal bubbles at leak site |
| 5 | Remove debris carefully | Prepare for repair or inspection |
When you find debris, apply debris removal methods: use pliers to extract only after marking the spot and deflating slightly. Recheck pressure and repeat soapy-water testing. Work methodically; avoid rushing. These steps free you from uncertainty, letting you confirm punctures precisely and decide next actions with confidence.
Temporary Fixes: Sealant, Plugs, and When to Use Them
If the puncture is in the tread and smaller than about ¼ inch, you can use a sealant to temporarily stop the leak and reinflate the tire to the manufacturer’s pressure. For a more durable field repair on the tread, insert a rubber plug and plan to have the tire professionally patched from the inside or replaced; never plug or seal sidewall damage. Treat sealants and plugs as temporary measures to get you safely to a repair facility, not as permanent fixes.
When To Use Sealant
When you find a slow puncture under about ¼ inch in the tread, sealant can serve as a temporary stopgap to maintain pressure until you get a permanent repair; inflate the tire to the recommended pressure before applying the product for best results. Use sealant when the puncture is confined to the tread, the leak rate is slow, and you need immediate mobility or time to reach a shop. Observe sealant limitations: it won’t reliably fix sidewall damage, valve-stem failures, or large holes, and it may complicate future professional repairs or void warranties. Follow application tips: confirm pressure, rotate the tire to distribute sealant, drive briefly to let it set, and schedule a permanent repair or replacement promptly to restore safety and autonomy.
Plug Versus Patch
Choosing between a plug and a patch comes down to location, size, and long‑term reliability: plugs are quick, inserted from the outside to stop small tread punctures, while patches are bonded to the tire’s inner surface and provide a stronger, more permanent repair for larger or centrally located holes.
You’ll use a plug for small tread punctures when you need immediate containment; it restores pressure fast but offers limited plug durability and is not suitable for sidewalls. A patch requires removing the wheel and applying adhesive to the inner carcass; it delivers superior patch effectiveness and longevity for larger or off‑center damages. Sealants can help temporarily but complicate shop repairs. Always consult a professional to verify the damage, choose the correct method, and secure your freedom to drive safely.
Temporary Vs Permanent
Although temporary fixes can get you back on the road quickly, you should treat them as short‑term measures and arrange a professional repair promptly. You’ll use temporary solutions—sealant or a plug—only to regain mobility and buy time, not to substitute for certified patch/plug repairs. Apply sealant for small punctures; it coats and hardens, letting you drive to a shop. Use a rubber plug for holes up to 1/4 inch; it’s fast but provisional. Both methods can erode tire integrity if left in place.
- Sealant: quick, internal coating, emergency use.
- Plug: mechanical fill, limited size allowance.
- Limitations: reduced durability at speed or in bad conditions.
- Next step: consult a tire professional for long term safety.
Professional Leak Detection and Permanent Repair
Because slow leaks can hide beneath the rubber and around fittings, you’ll want a professional inspection that uses advanced detection tools and methodical testing. Technicians employ advanced diagnostics—ultrasonic detectors and calibrated pressure rigs—to pinpoint microleaks at the valve stem, bead seal, and inner liner. They’ll also perform submersion testing to watch for escaping bubbles and confirm the leak location visually.
You drive liberation through certainty: a certified shop gives thorough inspection, not guesswork. Once identified, a permanent repair—proper patching of the inner liner or resealing the bead—is applied following OEM guidelines, avoiding temporary sealants that mask rather than fix. After repair, the technician will balance and advise a tire maintenance schedule: regular pressure checks, rotations, and visual inspections to prevent recurrence. You leave with documented work, pressure targets, and confidence that the tire has been restored to safe, durable service.
Frequently Asked Questions
How to Find a Very Slow Tire Leak?
You check tire pressure, inflate to spec, then perform leak detection: inspect visually, apply soapy water to tread, bead and valve stem, submerge if possible, and seek a professional if irregularities persist.
What Is the Best Thing for a Slow Leak in a Tire?
Patch the whispering wound: you’ll first try tire sealant options for a quick, temporary fix, but you’ll get lasting freedom by scheduling a professional inspection to diagnose and properly repair or replace the tire.
How Much Does It Cost to Fix a Slow Leak in a Tire?
You’ll pay about $10–$30 for a patch or plug; $30–$100 if valve stem or rim repairs are needed; replacements run $70–$200. Use leak detection tools to confirm before choosing tire repair costs.
Conclusion
You’ve got a toolkit now: check pressures and visuals, test the valve stem, use soapy water on tread, bead and rim, and submerge the wheel for stubborn leaks. Nail punctures you can spot and temporarily seal with plugs or sealant, but don’t count your chickens—these are stopgaps. If doubts remain or the damage’s near the shoulder or bead, get professional detection and a permanent repair to guarantee safety and longevity.
Related Articles

Hyundai Sonata Overall Tire Diameter by Size: Full Chart
Hyundai Sonata overall tire diameter by size: discover exact measurements, common OEM examples, and fitment tips to ensure speedometer accuracy and proper clearance.
Read More
Hyundai Sonata Tire Aspect Ratio Explained: What the Number Means
Good to know: discover how the Sonata’s tire aspect ratio affects ride, handling, and speedometer accuracy — and why that number really matters.
Read More
Hyundai Sonata Compatible Tire Sizes: Full Fitment Guide
I need to show which Hyundai Sonata generations accept which tire sizes and why fitment, offset, and diameter matter—read on to get exact matches.
Read More